This is the Part 3 of the series of articles written to share my experience on securing REST Api(s) with Spring Security OAuth2. The other pars of this article series have been listed below.
Part 1 : Basics of OAuth2, Roles, Grant types and Microservices security.
Part 2 : Setting up Authorization server with Spring Security OAuth2 using In-memory token store and client details
Part 3 : Setting up Resource Server with Spring Security OAuth2.
Part 4 : Enhancing Authorization server to store client app details and tokens in the database (JDBC client and token store)
Part 5 : Secure REST Api with Spring Security OAuth2 using JWT token
Part 6 : Token Revoke and Invalidating
Here we will be focusing on how to configure and set up resource server to expose protected resources and allow their access through a valid access token.
In the part 2 of the article, we have looked at how to set up Authorization server and generate token based on valid credentials. In this article, we are going to use the generated access token to access protected resources available.
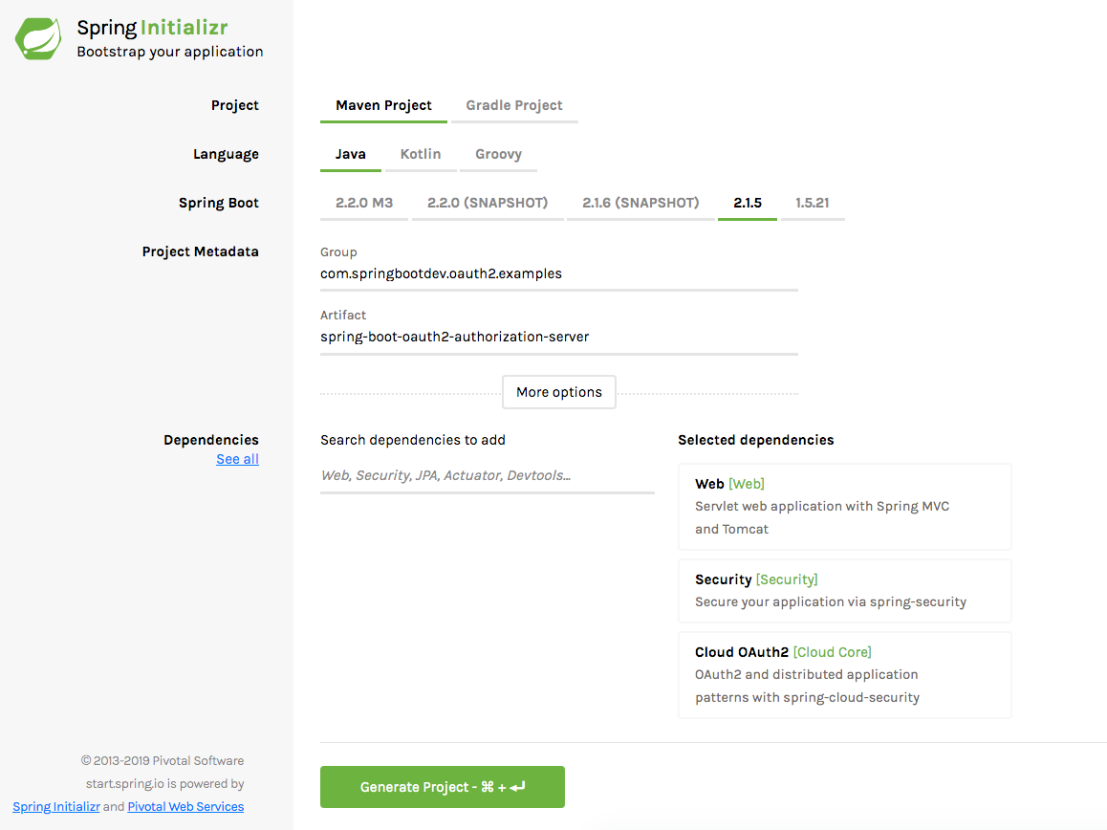
Generating a Project
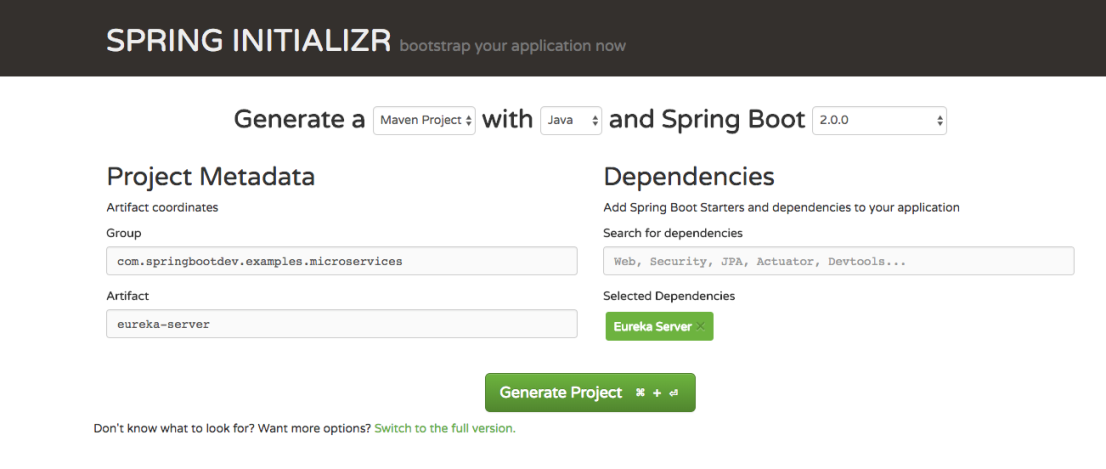
You need to generate a spring boot project with following dependencies.
<dependency>
   <groupId>org.springframework.boot</groupId>
   <artifactId>spring-boot-starter-security</artifactId>
</dependency>
<dependency>
   <groupId>org.springframework.boot</groupId>
   <artifactId>spring-boot-starter-web</artifactId>
</dependency>
<dependency>
   <groupId>org.springframework.cloud</groupId>
   <artifactId>spring-cloud-starter-oauth2</artifactId>
</dependency>
REST Api Resources
In WelcomeController, you can see set of endpoints and those are accessible for different user levels (roles). in order to access each endpoint, we need to have a valid token generated against authorized user credentials.
This file contains bidirectional Unicode text that may be interpreted or compiled differently than what appears below. To review, open the file in an editor that reveals hidden Unicode characters.
Learn more about bidirectional Unicode characters
| import org.springframework.web.bind.annotation.GetMapping; | |
| import org.springframework.web.bind.annotation.RestController; | |
| import javax.annotation.security.RolesAllowed; | |
| @RestController | |
| public class WelcomeController { | |
| @GetMapping("/public") | |
| public String welcomePublic() { | |
| return "welcome public/guest user"; | |
| } | |
| @RolesAllowed({"ROLE_ADMIN"}) | |
| @GetMapping("/admin") | |
| public String welcomeAdmin() { | |
| return "welcome admin"; | |
| } | |
| @RolesAllowed({"ROLE_USER"}) | |
| @GetMapping("/user") | |
| public String welcomeUser() { | |
| return "welcome user"; | |
| } | |
| } |
/public endpoint can be accessed by any user (both authenticated and non-authenticated). All other endpoints can be accessed only by authenticated users with allowed user roles. we can declare that behavior as follows.
This file contains bidirectional Unicode text that may be interpreted or compiled differently than what appears below. To review, open the file in an editor that reveals hidden Unicode characters.
Learn more about bidirectional Unicode characters
| import org.springframework.context.annotation.Configuration; | |
| import org.springframework.security.config.annotation.method.configuration.EnableGlobalMethodSecurity; | |
| import org.springframework.security.config.annotation.web.builders.HttpSecurity; | |
| import org.springframework.security.oauth2.config.annotation.web.configuration.EnableResourceServer; | |
| import org.springframework.security.oauth2.config.annotation.web.configuration.ResourceServerConfigurerAdapter; | |
| @Configuration | |
| @EnableResourceServer | |
| @EnableGlobalMethodSecurity(securedEnabled = true, prePostEnabled = true, jsr250Enabled = true) | |
| public class ResourceServerConfiguration extends ResourceServerConfigurerAdapter { | |
| @Override | |
| public void configure(HttpSecurity http) throws Exception { | |
| http.authorizeRequests() | |
| .antMatchers("/public").permitAll() | |
| .anyRequest().authenticated(); | |
| } | |
| } |
according to the above configuration, only the access for the /public will be allowed for the non-authenticated users. all other requests should be authenticated requests.
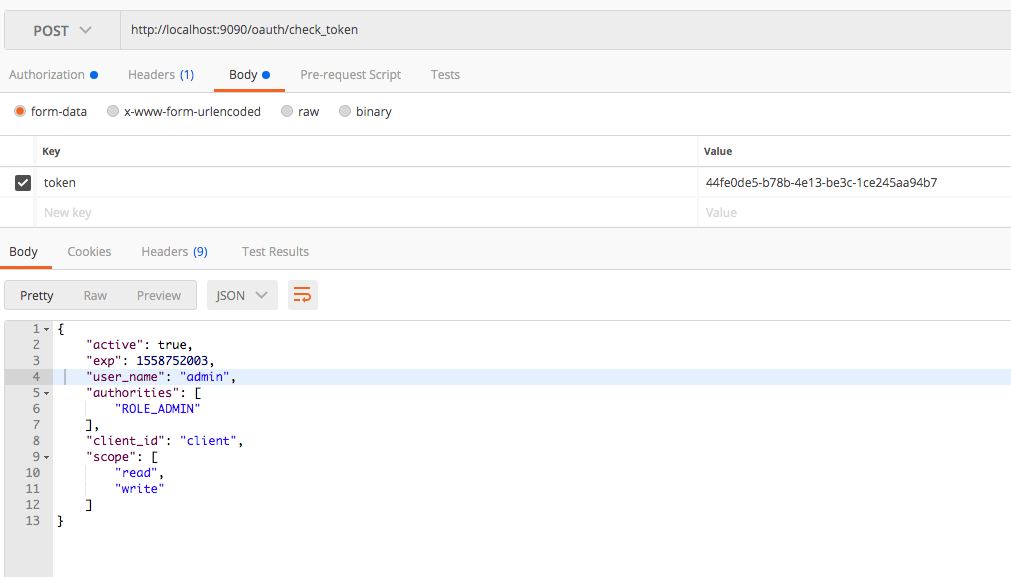
Verifying and Validating the Tokens
You might be thinking of how the resource server internally verify and check the validity of the tokens received through each request. This is accomplished with the /oauth/check_token endpoint exposed in the resource server. If you check the application.properties of the resource server, you can see that we have declared the endpoint with client app details.
security.oauth2.client.client-id=client
security.oauth2.client.client-secret=password

security.oauth2.resource.token-info-uri=http://localhost:9090/oauth/check_token
The resource server will extract the token from the request and check the validity through above endpoint.
Accessing the resources with Access Token
Here i have assumed that the authorization server and resource server is already up and running.
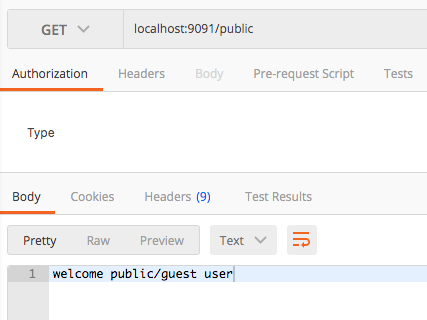
since the /public endpoint is permitted to access for all, we should be able to access it without any access token.
Now we will try to access the /admin endpoint without any token. Since our request is not authenticated (does not contain any token), It should not allow us to access the resource. As you can see that we got 401 unauthorized error.
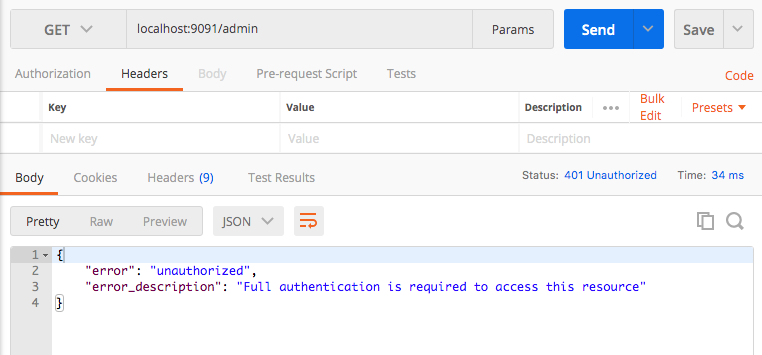
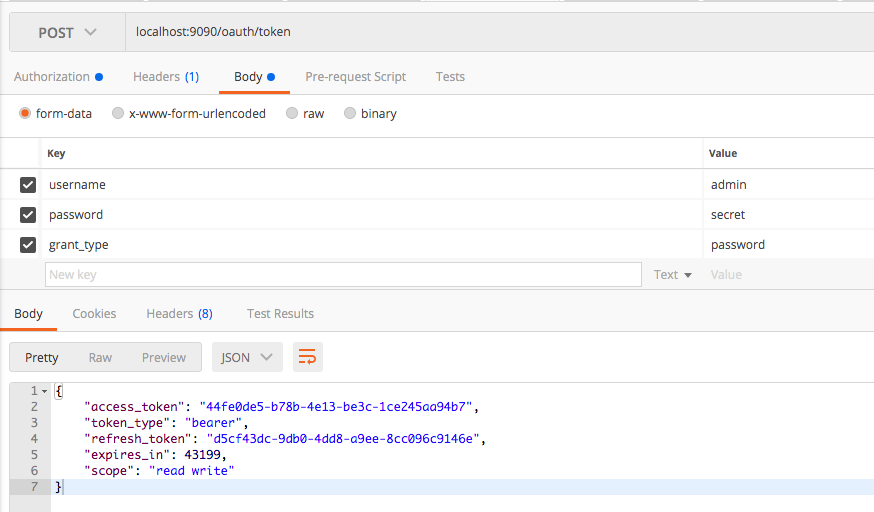
Now it is clear that we should have a valid access token to access the /admin resource. lets try to generate an access token based on some user credentials.
username : user
password : password
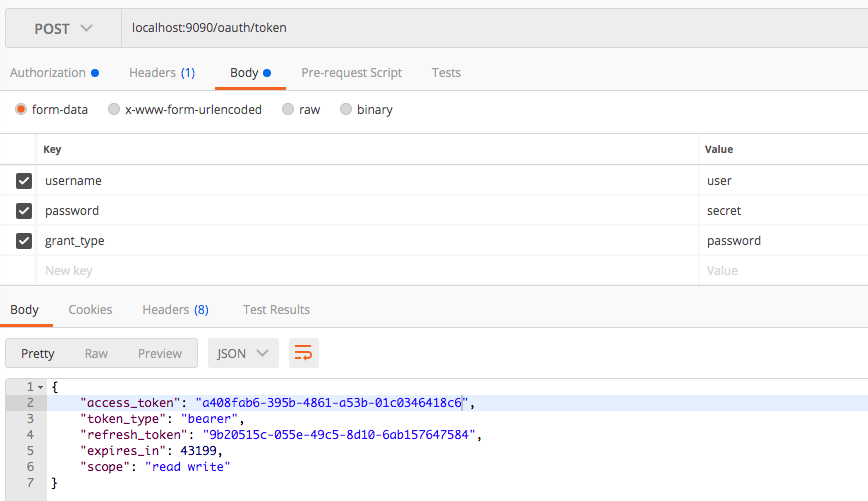
Now we will use the generated access token to access the /admin endpoint. Here you can see that we have got a different error with different error code. This is because token will claim only for the ROLE_USER privilege. In order to access the /admin resource, the token with authority ROLE_ADMIN is required.

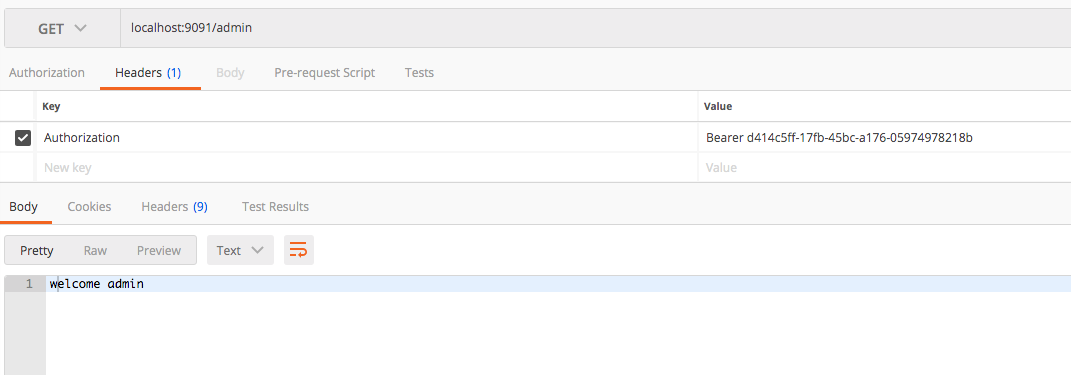
Lets re-generate the access token with admin credentials.
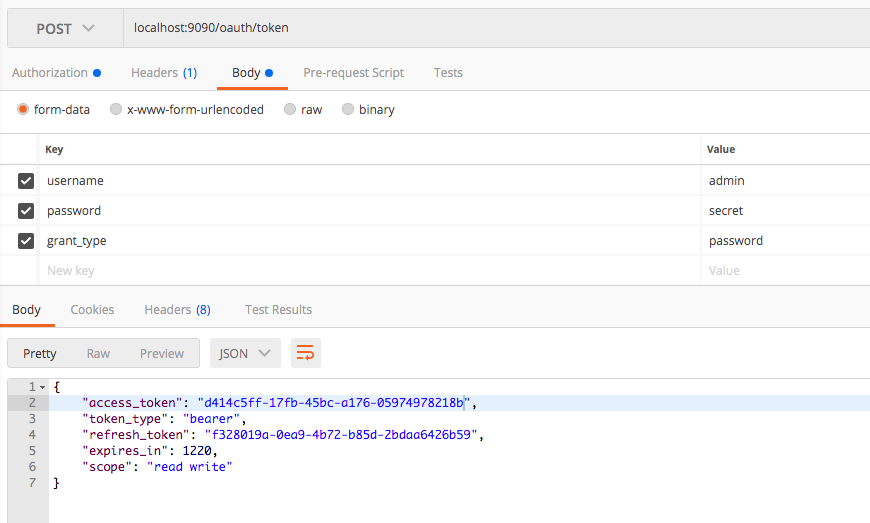
Now we will access the /admin endpoint with access token generated using admin user credentials. Yes! we are done.
The Source Code
The Source code of the Resource Server can be found at GitHub. Click here to download it.


