Keycloak can be downloaded at :- https://www.keycloak.org/downloads.html
Once it is downloaded, extract the binary distribution and execute the standalone.sh available in the keycloak-9.0.3/bin to run the keycloak server.
References:- https://www.keycloak.org/docs/latest/server_installation/index.html
Adding Realm
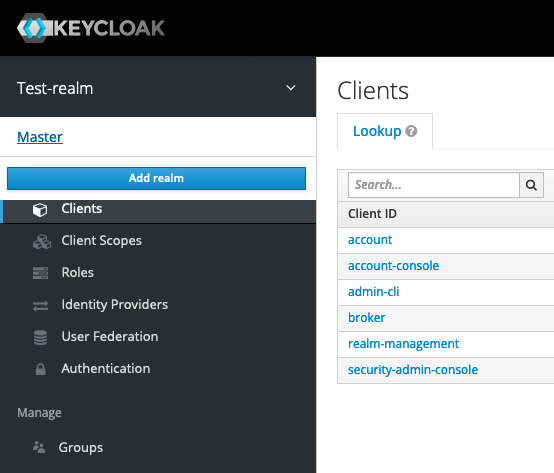
We need to add a realm first. This can be done by click on Add realm button on top of the server console.
Then add the name for the realm. In my case i have added it as “spring-app-demo-realm“.
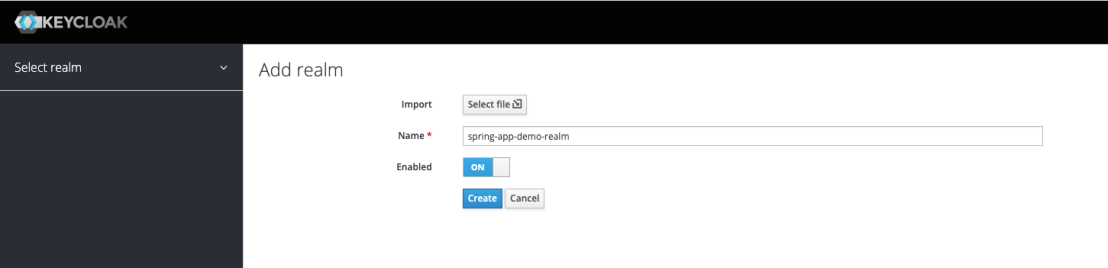
Now we have successfully added a realm.
Adding new users
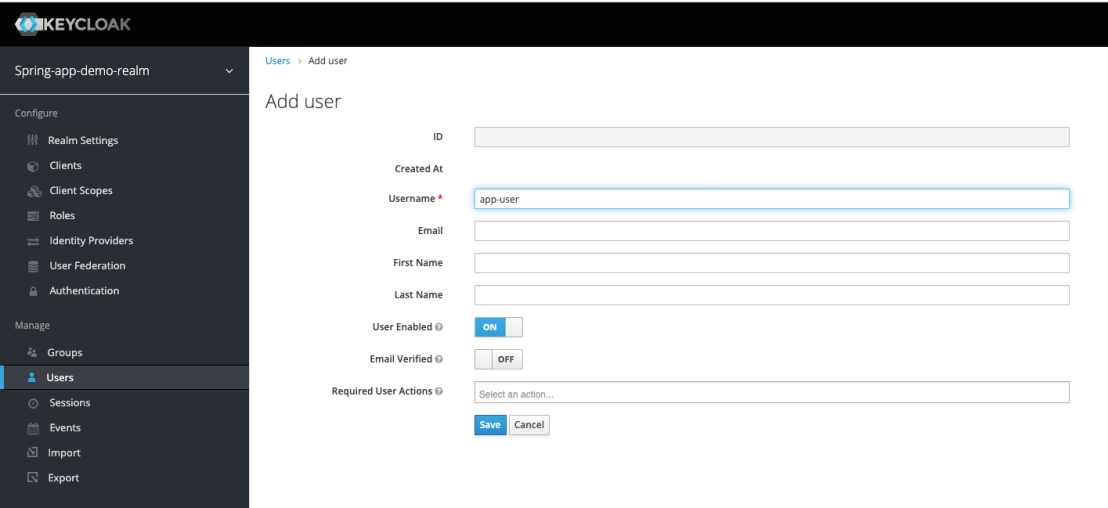
Now we need to add new users for the newly added realm. For the demonstration purpose i am filling only the mandatory data. I will be creating two user accounts.
- username: app-user / password: test123
- username: app-admin / password: test123
Lets create the “app-user” first.
Once the user is added, we need to set the password. This can be done as follows.
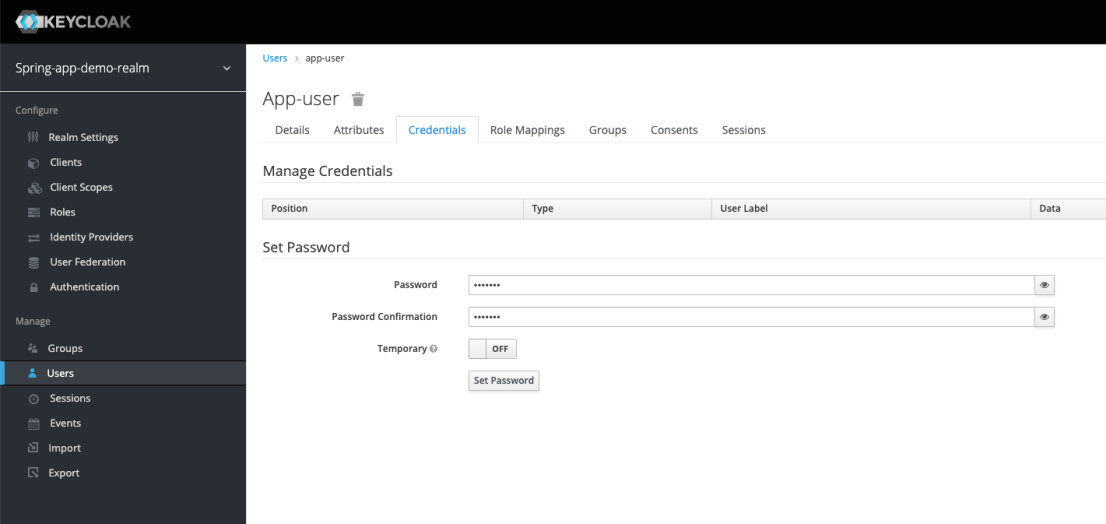
Repeat the above steps again to create the “admin-user” as well.
Create Roles
Now we need to create user roles. we will create following two user roles.
- ROLE_ADMIN
- ROLE_USER
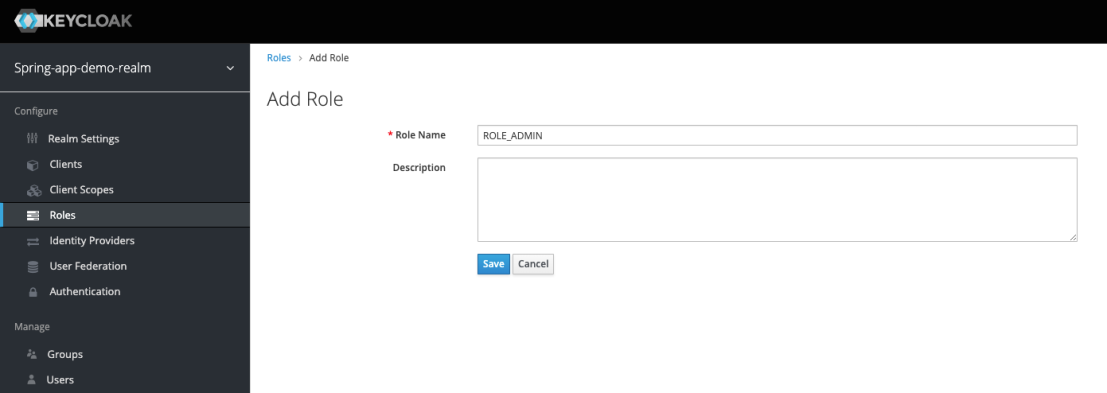
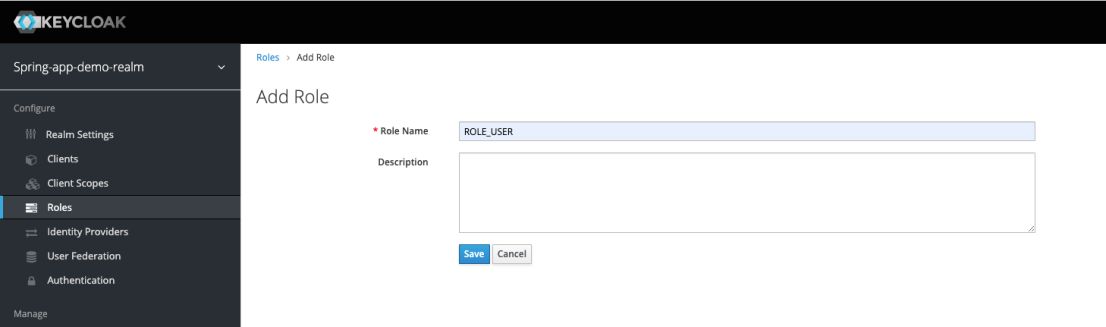
Now we have successfully created the roles.
Assign role(s) for the user
Now this is the time to assign the roles for the user accounts. This can be done as follows.
click on Users. -> select the user account -> Role Mappings
Assigning the user role for the app-admin user
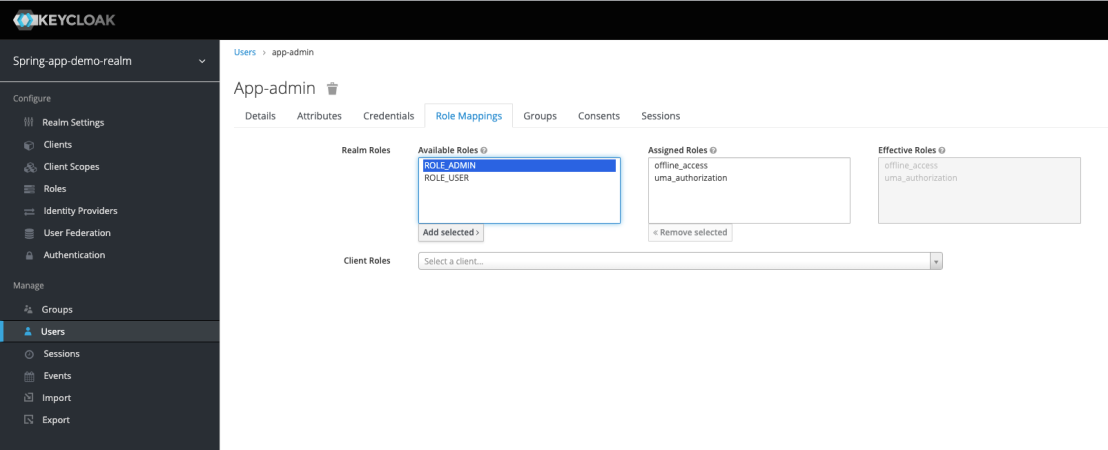
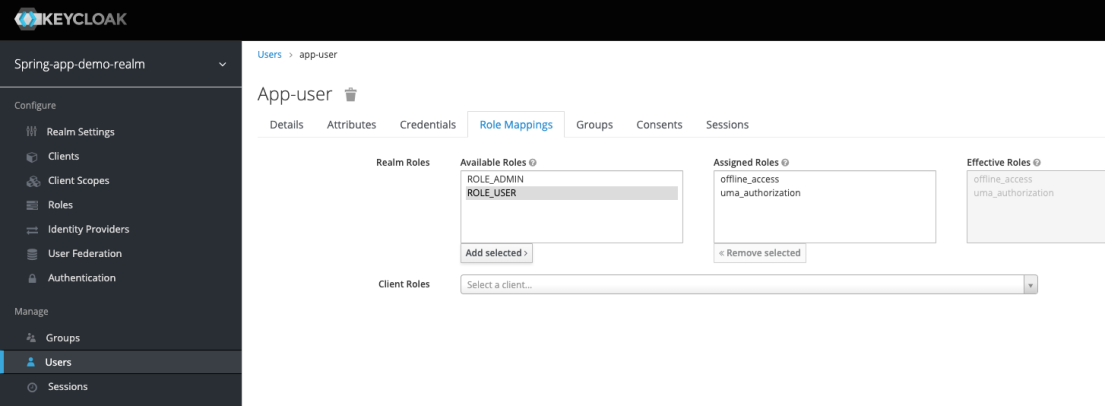
Select the available role(s) -> Add Selected
Assigning the user role for the app-user
Set up client
Now we need to create new client.
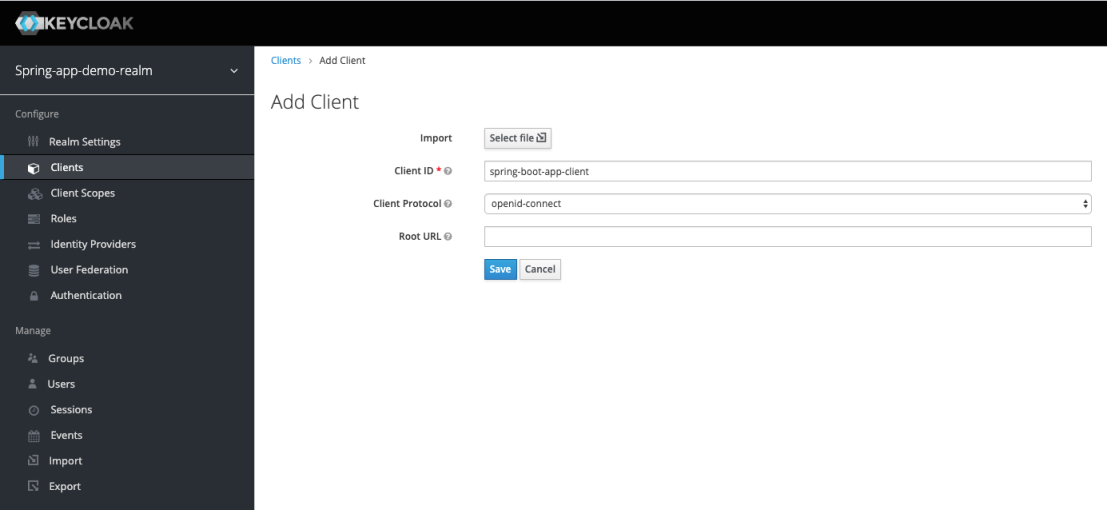
Now we need to do more configurations.
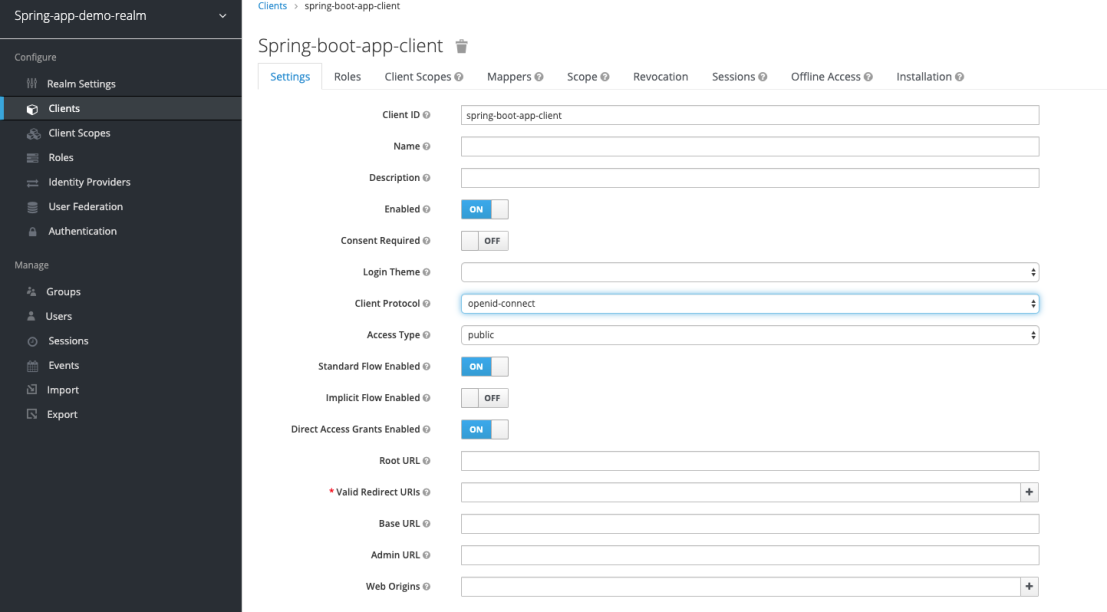
Now we are done with the setup and configuration process.
Testing with Postman
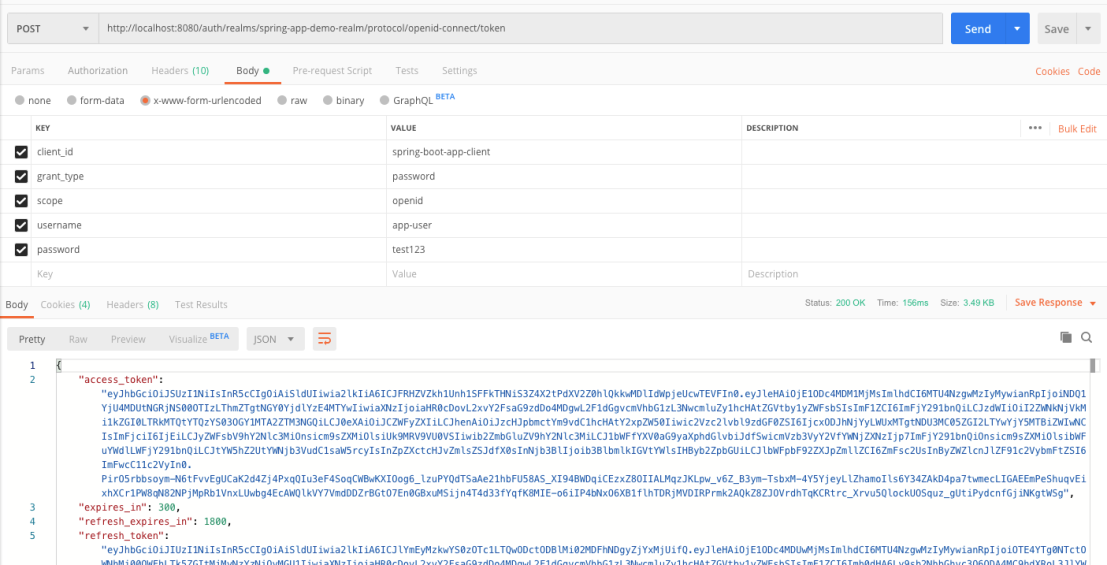
REST endpoint should in the following format.
http://localhost:8080/auth/realms/<realm-name>/protocol/openid-connect/token
