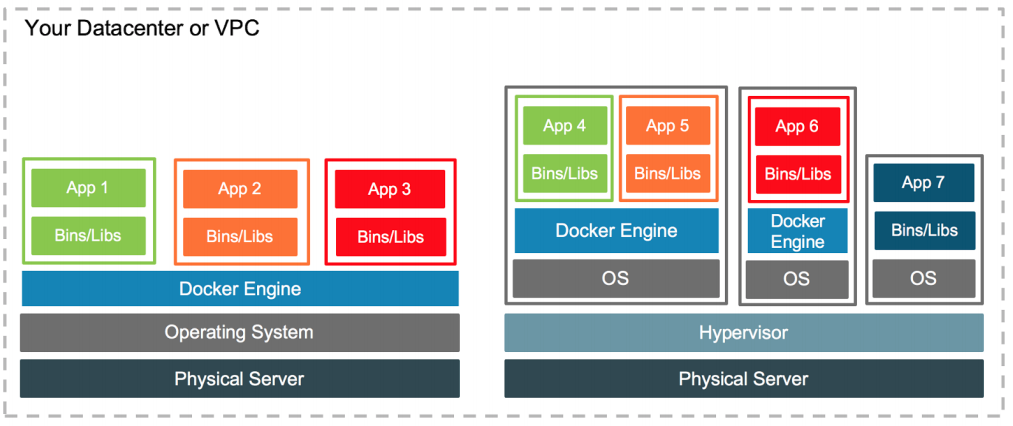
What is Docker?
The basic introduction and overview of the docker can be found at following blog article. So if you are new to docker, please read the following article, before continuing with this article.
Click here to go to the article of “What is Docker and Its Overview”
What we are going to do ….
Here we will be migrating an existing application to use docker based containers instead of traditional pre installed servers. The existing application is a Spring Boot REST Api application that uses Spring Data JPA for persistent layer and MySQL as the database server. So in this article, we will try to use docker based mysql container for replacing the traditional MySQL server (The MySQL server that is run as a external sever).
Since the purpose of this article is to demonstrate the features and capabilities of the Docker, i am not going to explain the Spring Data JPA related code here. If you want to learn them, please refer my blog article of Simple CRUD Application with Spring Boot and Spring Data JPA.
There are two main ways that can be used to build and run applications with docker.
- Using docker-compose for managing and running dependencies (servers) and link them
- manually managing and running the dependencies and link them (without docker-compose)
In this article we will be focusing on the second approach. That is “without docker-compose approach”
Where to download the source code?
The initial source code of this article can be found at the article of Simple CRUD Application with Spring Boot and Spring Data JPA . As i have already mentioned, we will be adding some docker related configurations to use docker for building and running this application.
The fully docker migrated source code( the outcome of this article) can be found at GitHub. Click here to download
Starting to migrate the application to use Docker
If you have gone through the above reference article (Simple CRUD Application with Spring Boot and Spring Data JPA), the application has following components and dependencies.
- Running Spring Boot Application
- Running MySQL Server
Therefore we need to create following containers in the process of migrating this application for the docker platform.
- A Container for running the Spring Boot Application (developed application docker image)
- A Container for running the MySQL Server (mysql docker image)
Click here If you want to see a list of important and frequently required Docker Commands
Create a docker container for MySQL
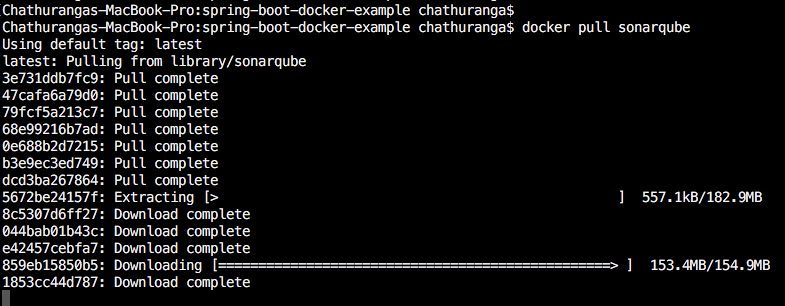
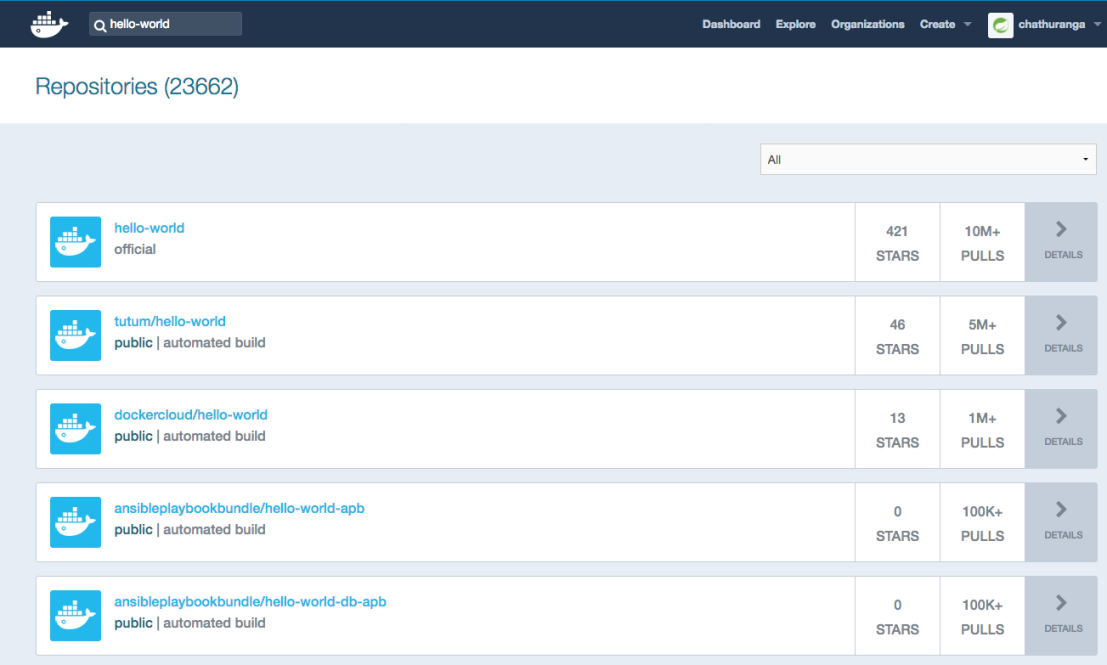
MySQL Team has provided an official docker image of MySQL through Docker Hub. (https://hub.docker.com/_/mysql/) . Therefore we can create the MysQL docker container executing the following command. It will first check the local docker registry for finding the requested mysql image. If it is not available, it will pull the image from the remote repository(Docker Hub) and create the container.
docker run -d \
      -p 2012:3306 \
     --name mysql-docker-container \
     -e MYSQL_ROOT_PASSWORD=root123 \
     -e MYSQL_DATABASE=spring_app_db \
     -e MYSQL_USER=app_user \
     -e MYSQL_PASSWORD=test123 \
        mysql:latest
After running the above command it will create a docker container with name “mysql-docker-container“.
Please refer the below screenshot
Lets break and understand the above “docker run” command.
-d
We use this flag to run the container in detached mode, which means that it will run in a separate background process. If you want the terminal access, simply avoid this flag.
-p <host-port>:<container-port>
-p flag is used for port binding between host and container. sometimes you might need to connect to MySQL container from host or some other remote sever. Therefore we need to bind the container port to a port of the host machine. Then it will be possible to access the mysql docker container through the IP and PORT of the Host machine.
2012:3306 :- By default MySQL server uses port 3306. Therefore container port will be 3306. We have mapped/bind the 3306 port to the 2012 post of the host machine. So the outsiders can access the MySQL container with host machine ip-address:2012 port.
Here is the screen shot of successful connection to docker container with Sequel Pro

--name
The name of the docker container. In this case it is “mysql-docker-container”
mysql:latest
This describes the image name and the tag.
mysql is the image name and latest represents the tag
The rest of the parameters are used to create the root password, database and creating the user (with username and password) for giving the access to the database.
Now we have a MySQL docker container up and running. Now our next target is to create a container for running spring boot application.
Create docker container for Spring Boot Application.
It was easy to create a container for MySQL server as there is an already published docker image for MySQL. Where we can find the docker image for the spring boot application that we have developed? Nowhere. We have to create it for our application.
It is the responsibility of the developer to create and publish (if required) the docker image of the application that he has developed.
Lets create the docker image for this spring boot application project.
First of all we need to change the database connection details of the application.properties file to point to the mysql-docker-container that we have already created.
spring.datasource.url = jdbc:mysql://mysql-docker-container:3306/spring_app_db?useSSL=false
spring.datasource.username = app_user
spring.datasource.password = test123
- docker container name has been added for the host (mysql-docker-container)
- 3306 is the port of the docker container on which the MySQL server is running on.
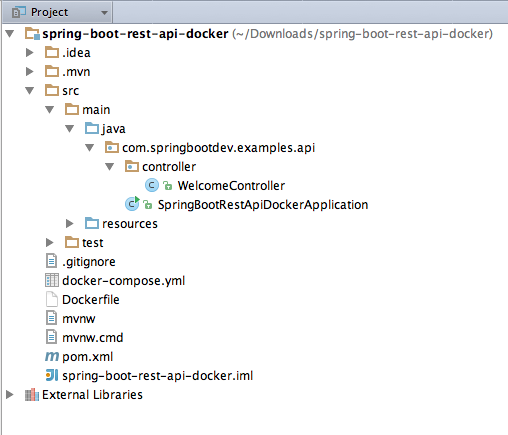
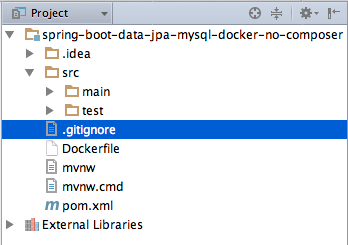
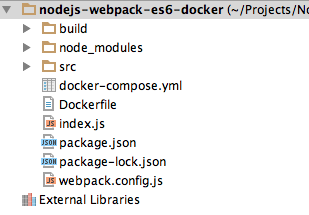
Dockerfile
This file contains all the instructions and commands that are required to build the docker image for the application. This file should be added to the root of the source directory. Normally this file should not contain any extension.
FROM java:8
LABEL maintainer=“chathuranga.t@gmail.com”
VOLUME /tmp
EXPOSE 8080
ADD target/spring-boot-data-jpa-example-0.0.1-SNAPSHOT.jar spring-boot-data-jpa-example-0.0.1-SNAPSHOT.jar
ENTRYPOINT ["java","-jar","spring-boot-data-jpa-example-0.0.1-SNAPSHOT.jar"]
FROM – This defines the base image for the image that we are building.(The image should be built from this base image). All we said is that, for this image to run, we need the java:8 image.
EXPOSE – This specified the port number on which the docker container is running. The docker host will be informed about this port when the container is booting up.
VOLUME
We added a VOLUME pointing to “/tmp” because that is where a Spring Boot application creates working directories for Tomcat by default. The effect is to create a temporary file on your host under “/var/lib/docker” and link it to the container under “/tmp”. This step is optional for the simple app that we wrote here, but can be necessary for other Spring Boot applications if they need to actually write in the filesystem.
ADD – Adding the files into the docker image being created. Normally this command will be sued to add executable jar files into the docker image.
ENTRYPOINT : The specified command will get executed when the container is booted up.
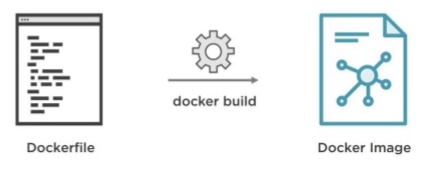
Dockerfile (instructions in the Dockerfile) will be used by the docker build (command) when building the Docker Image.
If you want to learn more about Dockerfile, please click here to visit official documentation about it.
Building the docker image from project
first you need to build the application. This can be done with following command
mvn clean install -DskipTests
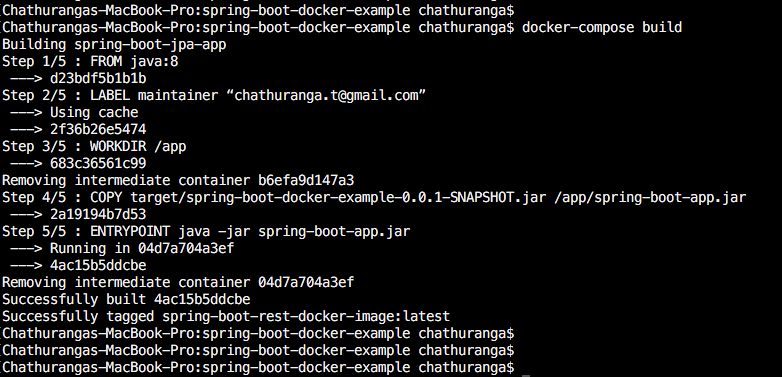
Once the project is buit successfully, we can build the docker image with following command.
docker build -f Dockerfile -t spring-jpa-app .
spring-jpa-app – refers the name of the docker image being built.
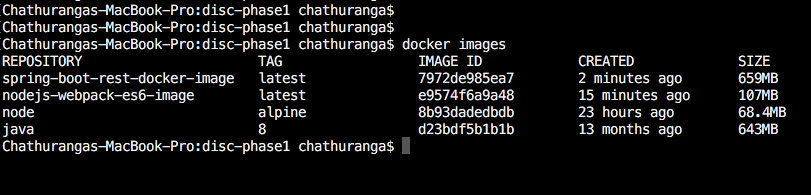
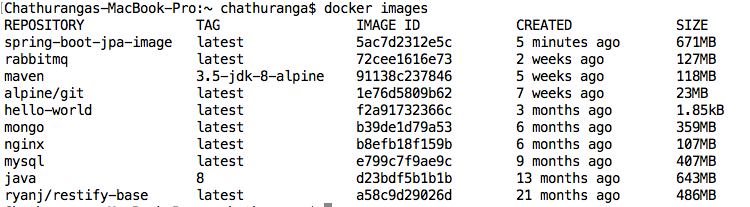
Once the above process is completed, you can verify whether the docker image is built successfully with following command. It will show you a list of docker images available.
docker images
Running the built docker image
Now we need to run the built docker image of our spring boot application. Since this application requires to connect with MySQL server, we need to make sure that MySQL server is up and running.
You can check the currently up and running docker containers with following command.
docker ps
If the MySQL container is not up and running, you need to run it now. (I have already explained you about executing the mysql-docker-container).
Link with MySQL Container.
Once the mysql container is up and running, you can run your spring boot application image on container with following command. You need to link your spring boot application with mysql container.
docker run -t --name spring-jpa-app-container --link mysql-docker-container:mysql -p 8087:8080 spring-jpa-app
–name spring-jpa-app-container
This represents the name of the docker container that is going to be created. You can use any name as your wish.
-p 8087:8080
The application will be running on port 8080 of the container. It is bound to the port 8087 of the host machine. (So the hosted application can be accessed with host ip address + port 8087) . In my case it is localhost:8087
–link
Now, because our application Docker container requires a MySQL container, we will link both containers to each other. To do that we use the --link flag. The syntax of this command is to add the container that should be linked and an alias, for example --link mysql-docker-container:mysql, in this case mysql-docker-container is the linked container and mysql is the alias.
spring-jpa-app
This represents the name of the docker image that is going to be run on a container.
Now we can check and verify whether both containers (mysql and spring boot application containers) are up and running.

Verify containers are linked properly
To verify whether the containers are linked properly, you can get into the application container (spring-jpa-app-container) and see the content of the /etc/hosts file.
login to container with bash mode
docker exec -it spring-jpa-app-container bash
spring-jpa-app-container is the name of the container that we need to access. bash param says that we need the bash access.
see the content of /etc/hosts ( cat /etc/hosts )
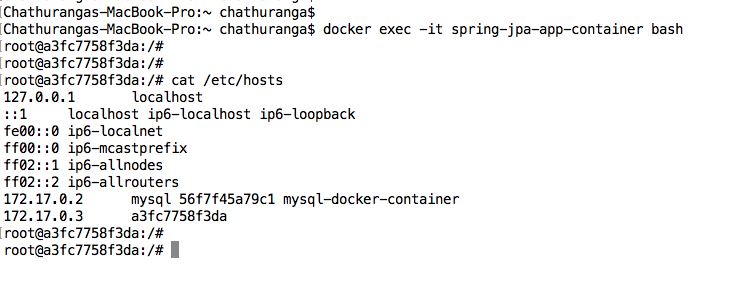
Did you notice the “172.17.0.2 mysql 56f7f45a79c1 mysql-docker-container” ?
This confirms that containers are linked properly and spring boot application container is connected to mysql-docker-container properly.
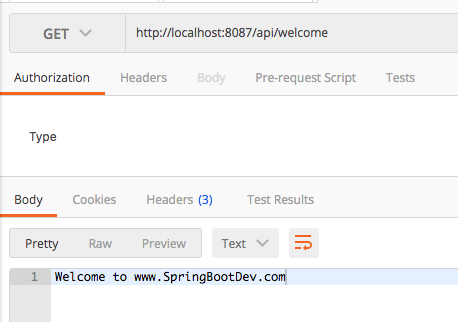
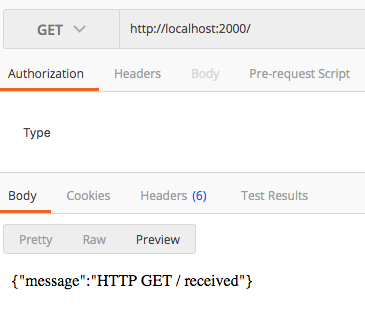
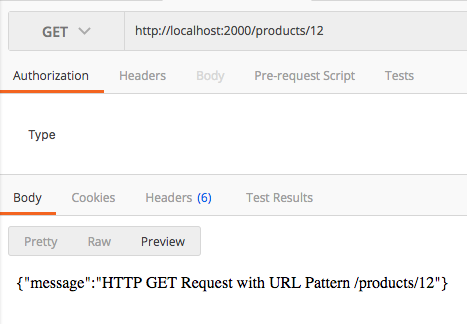
Testing the application
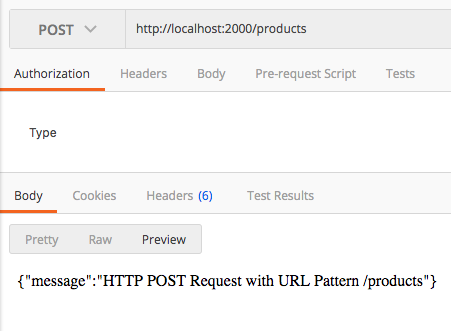
The hosted application can be access through http://localhost:8087
You can refer the original article for getting more information about accessing the endpoints with correct request parameters.
Here i have done a sample postman call for you. It represents the REST endpoint for creating users.

You can connect to the MySQL server with your preferred MySQL UI client application or container bash mode.

Hope this tutorial helps you to understand how to use docker for application development.
In next tutorial we will modify this same application to use docker-compose to manage everything , instead of manual container running and linking approach.