In this article we will look at how to use Docker for NodeJs application development and deployment. Here i will be showing you how to use docker-compose utility to bundle NodeJs application as a docker image and run it in a docker container. For the demonstration purpose, i am going to reuse a NodeJs application that was developed in some other article. I will take you through the step by step process for integrating Docker features and functionalities for the application that we have developed.
we will be using the application developed in following article.
Click here to go the previous article
If you haven’t read the previous article, it is highly recommended to read it before moving forward with this article.
Lets remind and brush up our knowledge on the technologies used in the previous article as follows.
- Express.js :- The application has been developed using Express.js framework.
- ES6+ :- The source code complies with the ES6+ (ES6 and higher) JavaScript.
- Babel and babel-loader :- has been used for transpiling the ES6+ source code into ES5 style code. babel-loader has been used with webpack for compiling/transpiling purpose.
- webpack :- This has been used as the static resource bundling tool (here specially javascript) and executing babel traspiler with babel-loader.
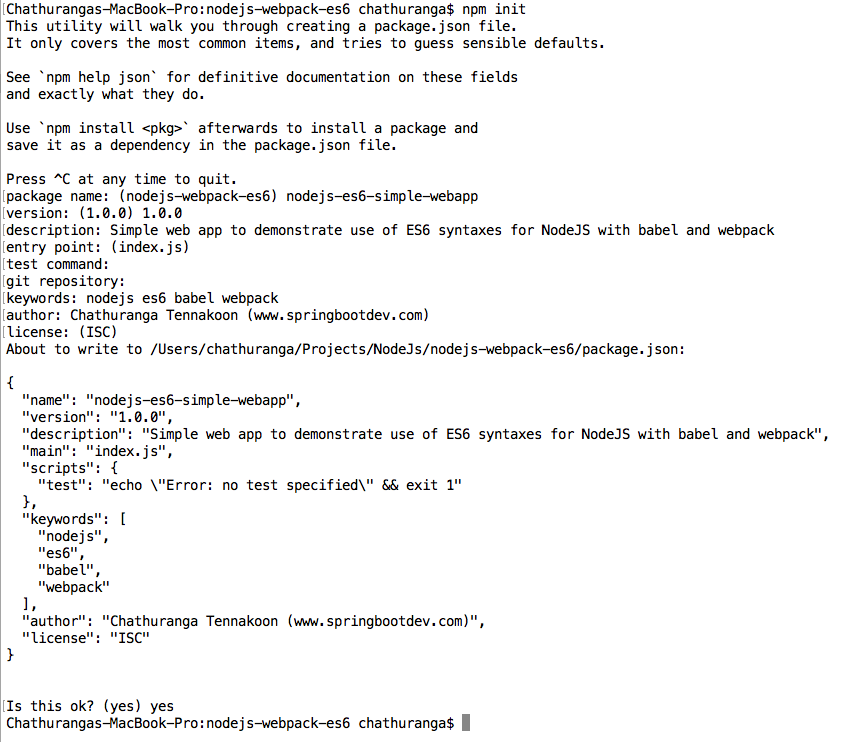
Get the source code of the project related to the previous article from GitHub. You can get the source code with following command.
git clone git@github.com:chathurangat/nodejs-webpack-es6.git
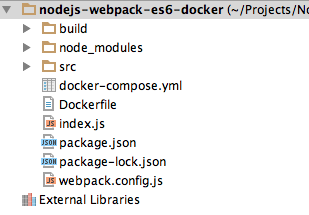
Once the source code is cloned, add below two empty files to the root of the project.
- Dockerfile :- the file name should be “Dockerfile” without any extension (NO extension)
- docker-compose.yml
Don’t worry about the purposes of these two files for the moment right now. we will discuss the purpose of each file when they contents are added for them.
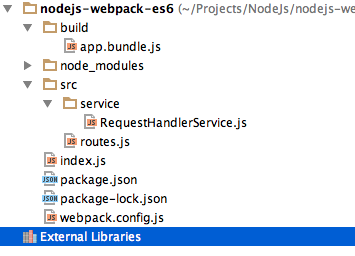
After adding above two files, open the project with your IDE and the project structure should looks like below.
NodeJs Application with Express.Js , Babel and Webpack
Since i have demonstrated how to develop NodeJs application with Express.js with ES6+ JavaScript syntaxes and how to use Babel and Webpack for transpiling and bundling purposes in the previous article, i am not going to repeat the same content here. If you need any clarification regarding this, please refer the previous article. I will be moving forward with adding Docker for the previous developed application.
Moving forward with Docker
Now it is the time to modify the content of the Dockerfile and docker-compose.yml file. Lets look at the purpose of each file in detailed as follows.
Docker is all about creating images from source code and running them in standalone environment called containers. if you are new to docker and need to get a basic idea, then click here to visit my article about Docker.
Dockerfile
Dockerfile contains the instructions and related commands for building the docker image from the project source code. add the following content for the empty Dockerfile that you have created.
FROM node:alpine
WORKDIR /app
COPY . /app
RUN npm install
ENTRYPOINT ["npm","run","execute"]
FROM : This defines the base image for the image that we are building.(The image should be built from this base image). All we said is that, for this image to run, we need the node:alpine image.
WORKDIR : This will create a work directory when building the image. Here it will create the “/app” directory as the work directory. If you go to the bash mode of the container, you can verify that “/app” directory is created with all copies files.
WORKDIR sets the working directory for any RUN, CMD, ENTRYPOINT, COPY and ADD instructions that available in the docker file.
COPY : command used to copy the given files from local development environment to the docker image. Here the local current working directory (all files in the current working directory) will be copied to “/app” directory.
RUN : RUN command can be used to execute the shell commands when the docker image is being built.
ENTRYPOINT : This command will run when the container is created and up. Normally this should contain the command that should be executed in the shell to run the application in the docker container. The command should be given in JSON array format.
According to the above Dockerfile, the command will be:
npm run execute
Here the “execute” is a custom built command and if you observe the scripts of the package.json, then you will find the related command.
"scripts": {
  "test": "echo \"Error: no test specified\" && exit 1",
  "execute": "webpack && node build/app.bundle.js"
},
What is docker-compose?
Compose is a tool for defining and running multi-container Docker applications. With Compose, you need to create a YAML file (docker-compose.yml) to configure your application’s services. Then, with a single command, you can create and start all the services from your configuration.
Lets add the contents for the created docker-compose.yml file.
docker-compose.yml
version: '3'

services:
  nodejs-webpack-es6-app:
    image: nodejs-webpack-es6-image
    build:
      context: ./
      dockerfile: Dockerfile
    ports:
      - 4000:2000
According to the above document, docker-compose version is 3. Therefore this document should contain the syntaxes that comply with version 3.
We can declare the list of services under the services. here i have declared only one service which it is built with the source code of this project. each declared service will be deployed and run in a sperate docker container.
The name of the service is “nodejs-webpack-es6-app“. The service should be deployed with docker image “nodejs-webpack-es6-image“. If the docker image is not available, then build the docker image with using the Dockerfile available in the current working directory.
The service will be running in the container port 2000 and expose it though docker host port 4000. Therefore the service can be accessed externally with:
ip address of the docker host + 4000 (port)
docker-compose for building and running the application
In command shell, go to the directory where the docker-compose.yml file is located and run the below command to run the application.
docker-compose up
After running the above command, you can access the application as follows.
Testing the Application
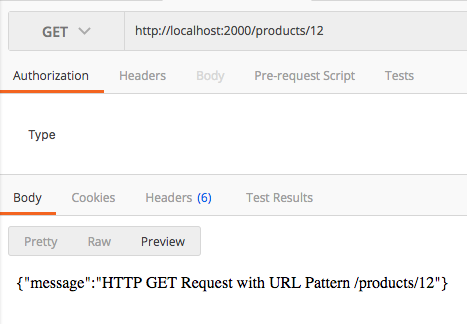
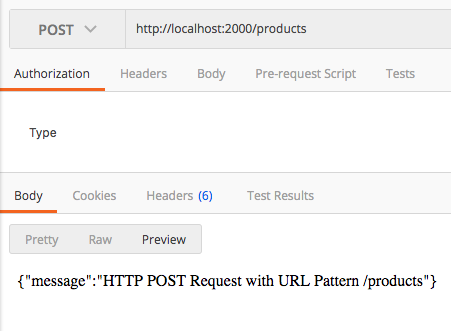
Now lets access each HTTP route with postman as follows.
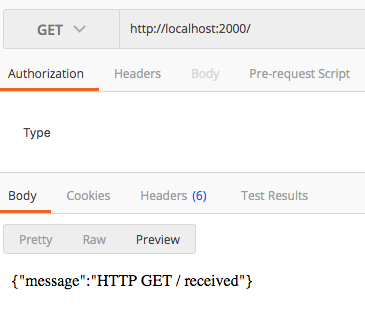
GET http://localhost:4000/products/12
POST http://localhost:4000/products
Rebuild the image on source file changing
if you have modified the source code of the application, then you need to remove the old image and rebuild the new image. This can be done with following single command.
docker-compose build
The source code of this article can be found in GitHub. Click here to get the source code.